Codespaces
What are Codespaces?
A real development environment.
Web-based so you can connect to it from anywhere.
The editor should, however, be familiar.
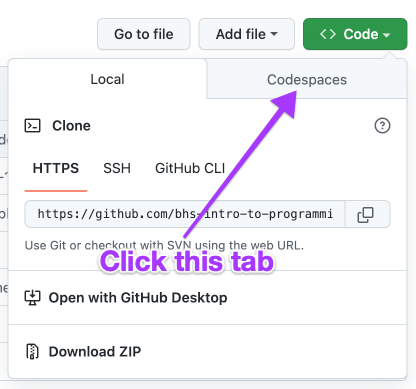
On Gihtub open code menu

Choose the Codespaces tab
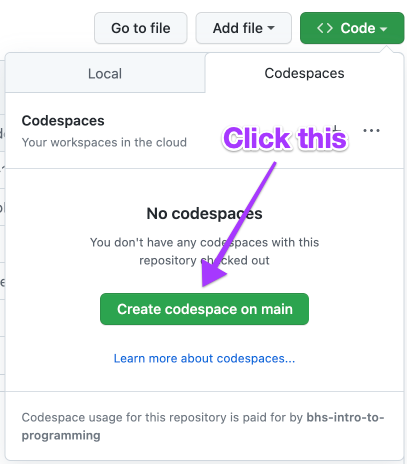
Create codespace
What’s happening
Github is spinning up a virtual computer in their data center that is connected on one side to your Github repository and on the other to a development environment that runs in your browser.
It may take a minute to open up.
Some key parts of the environment
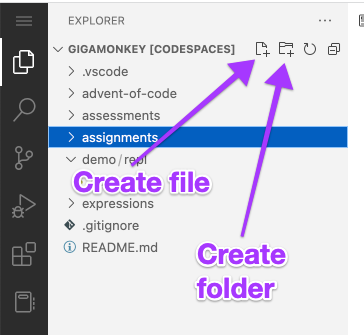
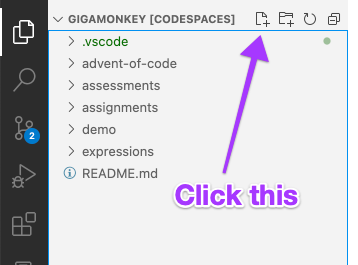
File explorer
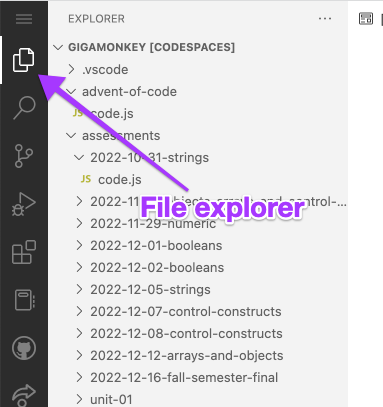
Create files and folders
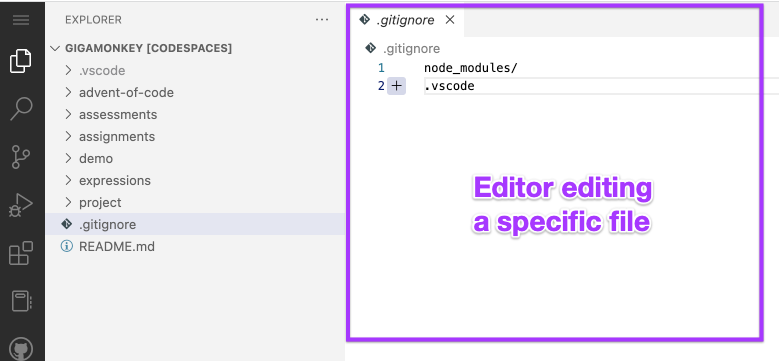
Editor area
Branch indicator
When your codespace is open, at the bottom left there is an indicator of what branch you are on.

You can also click on it to get a menu to switch to a different branch or create a new one.
Branch menu
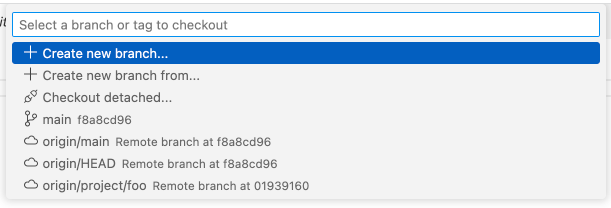
You will use this to create new branches and to switch to existing branches.
If you choose to create a new branch

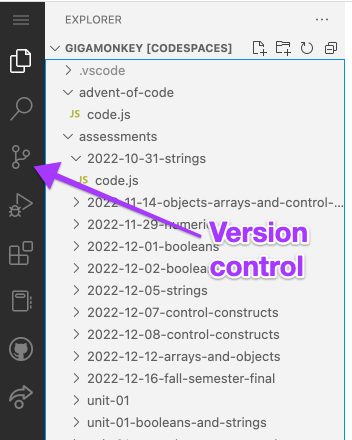
Version control (git)
Reconnecting
Close the Codespace tab when you’re done.
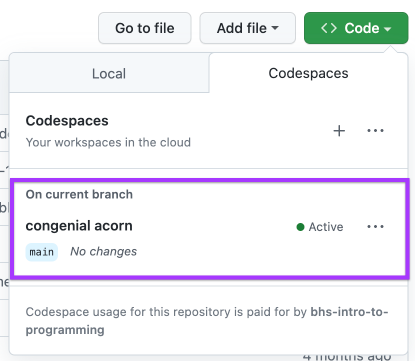
You can use the same Code menu later to reconnect.
You should see an existing codespace
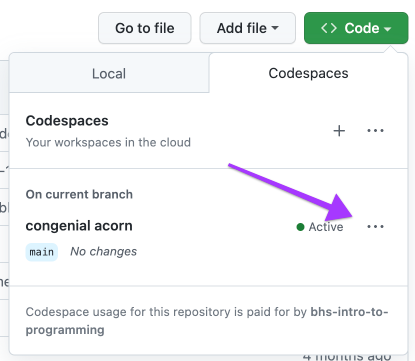
Click the meatball menu
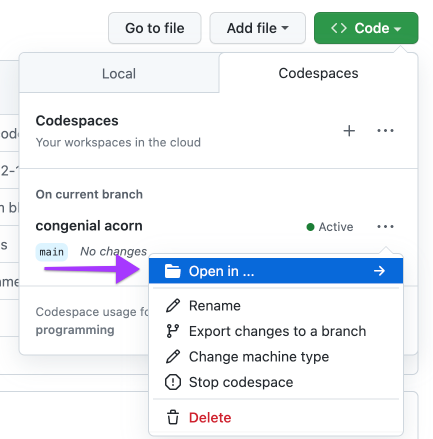
Choose “Open in”
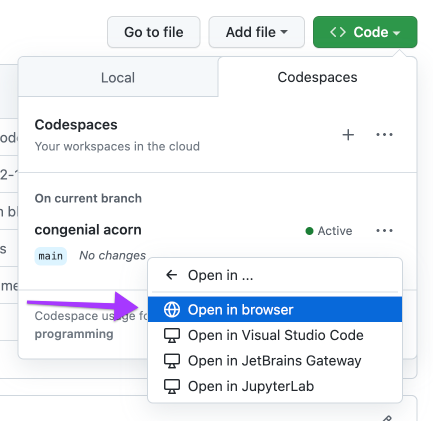
Choose “Open in browser”
First Codespace project
Just to get the feel of things we’re going to create a couple files and commit them to git.
The next dozen or so slides will walk you though the process, step by step.
Open your Codespace
Open your codespace and make sure the branch indicator shows that you are on the main branch.
If, for some reason, you are not on main, click the indicator and use the menu to switch to main.
Make a branch
Create a branch named setup
First file
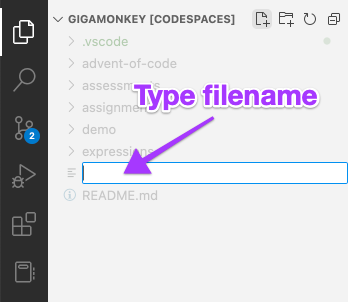
Create a file named .gitignore.
Make sure you haven’t selected a folder and then click the new file icon. Then type the name, with the leading dot.
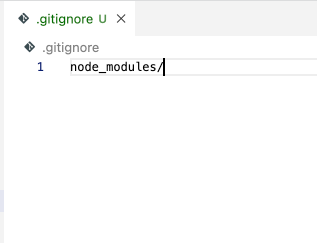
First file contents
In the editor type: node_modules/
Second file
Create another file, this time named start-project.
Paste contents
Go to http://bit.ly/3jNmGX2 and copy the contents and paste them into this new file.
A bit of commmand line magic
Now we need to do one little bit of magic to make our lives easier later on.
To do that we’re going to have to venture into the command line.
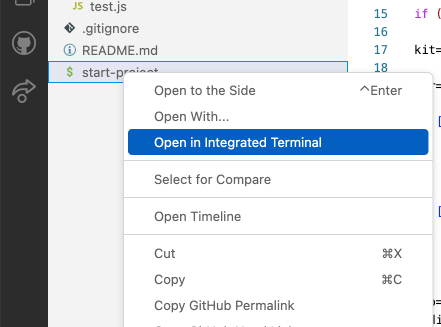
To the command line!
Right click on the start-project file in the file explorer and choose “Open in Integrated Terminal”
The terminal
That will open a terminal under the editor. This is kind of like the REPL in our old environment.
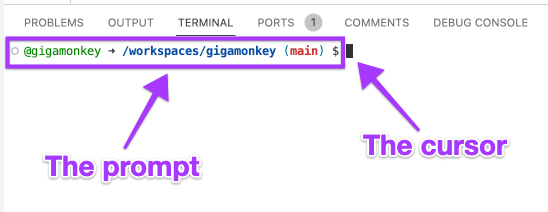
Your prompt will look a little different than mine but basically the same.
Command line
Like the REPL, you type things at the terminal and hit return to execute them.
However it doesn’t understand Javascript.
Instead it understands commands in a language called bash.
The magic incantation
At the terminal, first type:
chmod +x start-project
and hit return.
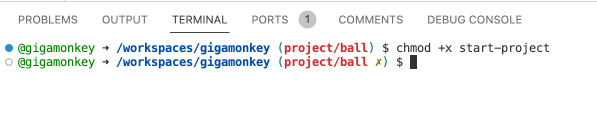
There’s no output from running this command but it has marked start-project as a progam that we can run later.
To version control
Click the version control icon
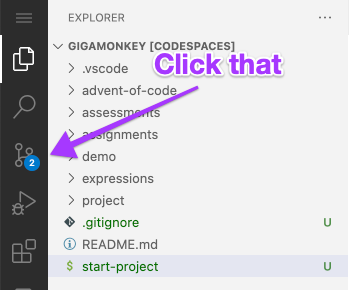
The “2” indicates there are two changes and the “U”s next to the two new files indicates they aren’t yet in git.
Write a “commit message”

This is a brief description of the changes you are making.
Commit & Push
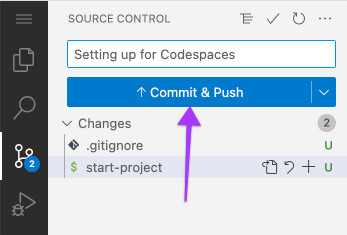
This causes the changes to be saved to be “commited” to the current branch also “pushed” to your Github repository.
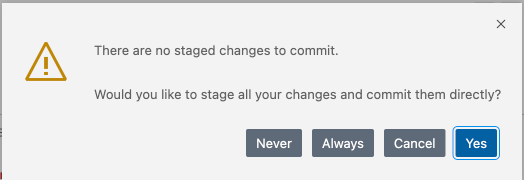
One warning
You’ll probably get this warning. Click “Yes”.
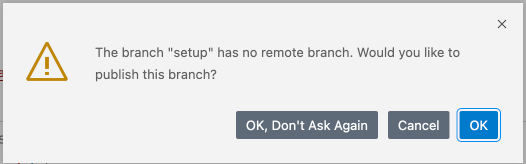
Another warning
Then you’ll probably get this warning. Click “Yes” here too.
Make your PR
Go to Github website and create a pull request for the setup branch and request my review.
When I approve it, merge the PR and delete the branch.